Available April 18, 2024
Feature Enhancements & Bug Fixes 
NEW
Web
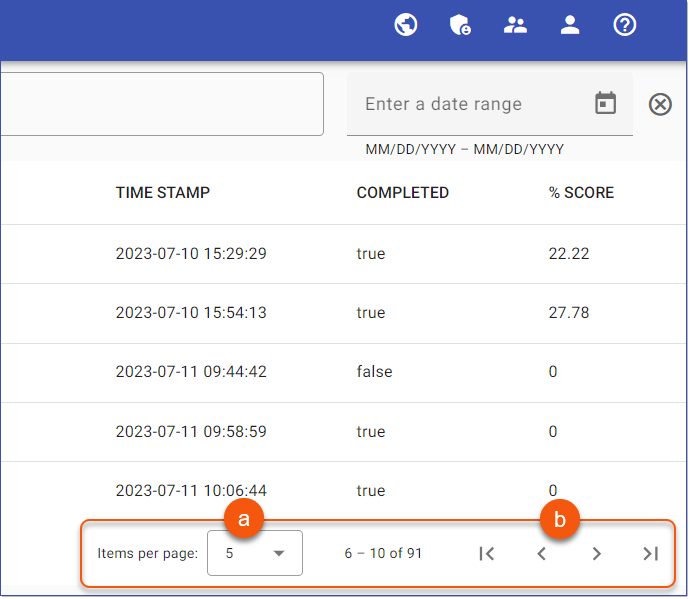
•Page Navigation and Items Per Page Display Options are now available on the Results page allowing you to adjust the number of items displayed per page, ranging from the default of 5 to 100. Additionally, there are now navigation controls to move through the pages of results files associated with a specific course.
a.Specify the Items per page for the Results list.
b.Navigate through the Results pages using the First, Previous, Next, and Last Page controls
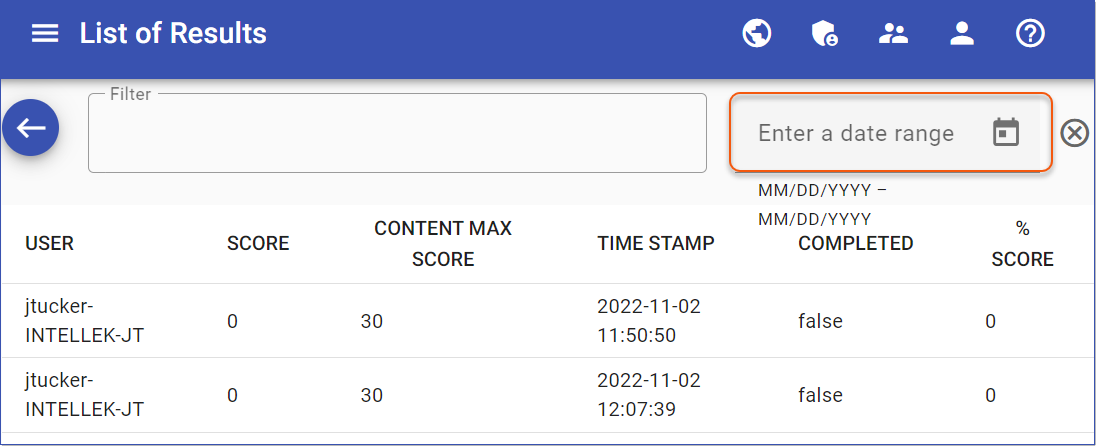
•The Results page now has a Date Range filter to narrow down the Results page by specifying a Start date and End date, which will limit the displayed results files to those that fall within the specified date range.
1.Navigate to the Results page using the menu panel, then choose the specific course you wish to examine the results for.
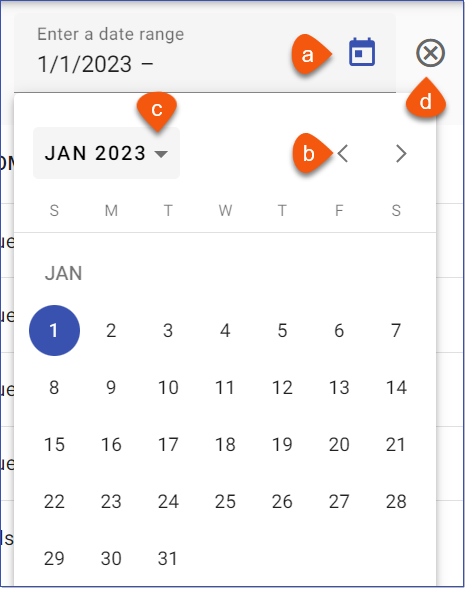
2.Click in the Enter a date range field and use the controls to select the Start date of the desired date range.
a.Click the Calendar icon to select the Start date.
b.Navigate month by month using the < > arrows.
c.Use the Month/Year drop down to select a previous year. Repeat for the End date, using the controls to select the End date of the date range.
d.Click the Clear button to reset the list as needed.
3.The Results list is immediate filtered and displays only items within the date range.
•The Content Editor's Instruction slide includes new copying functionality through the Copy and Clipboard icons. These icons enable users to copy instruction slides within the same course and to copy/paste instruction slides between courses.
1.The Copy icon, when clicked, duplicates the selected instruction slide and positions it directly below the chosen slide within the same, currently opened course.
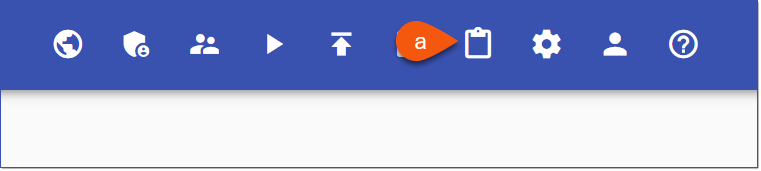
2.The Clipboard icon, when clicked, copies the selected instruction to the clipboard for pasting into another course or for pasting at the end of the same, currently opened course.

a.Navigate to the desired course and use the Instruction Paste icon, located on the top navigation bar, to insert the content of the clipboard at the end of the currently opened course.
•The Content Editor now includes Bullet and Numbered list formatting options accessible from the Formatting toolbar within the Content Editor. Bullets and Numbering can be toggled on/off as you type or applied to existing text in the Content Editor.

Bullet and Numbered List
•Form Instruction Slides now include a Required slider/option for the Form Input and Form Dropdown items, ensuring that the fields must be filled out. If the User fails to enter the required information, the Submit button will be disabled and the user will be unable to complete the form.

Form Input Item

Form Dropdown Item
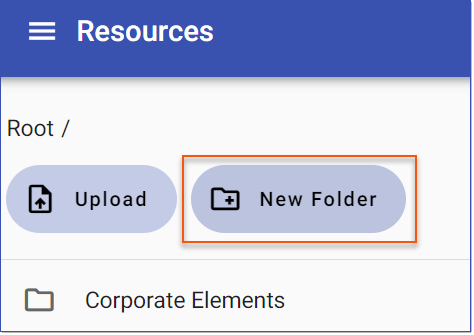
•The Resources Library now offers a New Folder Option, enabling the organization of resource items within the Library. You can create folders and sub-folders and arrange Resource items into folders directly from the Resources page.

Resources Menu
1.Access the Resources page via the menu panel and select the New Folder button.
![]() To generate a sub-folder within an existing folder, first navigate to the desired folder, then click on the New Folder button.
To generate a sub-folder within an existing folder, first navigate to the desired folder, then click on the New Folder button.
2.Enter the New Folder Name and select New Folder.

New Folder Name
3.Use the 3 dot action item to Rename or Delete a folder.

Rename or Delete Folder
4.Use the breadcrumb trail as needed to navigate up a level or back to the Root folder.

Breadcrumb trail
5.You can upload Resource files directly into a Folder by accessing the folder and clicking the Upload button. Use the Drag and drop file here or Browse for file option to upload Resource files to the active folder.

Upload dialog
•Resource files can be organized into folders using the Move files option available from the Resources page.
1.Access the Resources page via the menu pane and choose the resource file(s) by ticking the checkbox located to the right of the listed resource item. Once one or more items are selected, the Move files button will become visible.

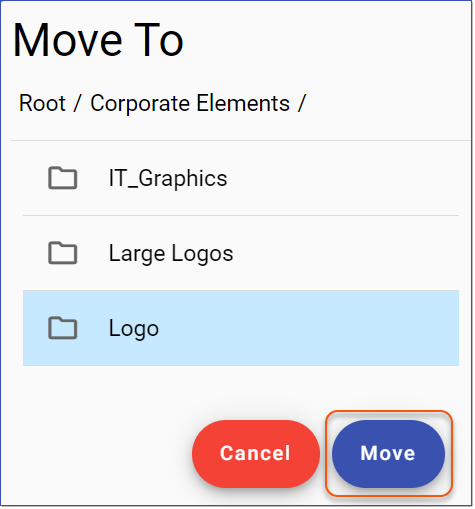
2. Select the Move files button, and the Move To dialog displays.
3.Choose the folder where the resource file(s) will be relocated, then click on the Move button. The items will then be transferred to the designated destination folder.
![]() Resource Items that are loose at the Root can also be dragged and dropped into a Folder from the Resources page.
Resource Items that are loose at the Root can also be dragged and dropped into a Folder from the Resources page.
•New Folders created from the Resource Page will be visible from the Resources tab within the Content Editor.
ISSUES
Web
•Create - Balloon Defaults not copied when Course cloned (14179)
----------------------------------------------------------------------------------------------------------------
Any Issues listed below this line were added after April 9, 2024 when Create v1.17.0.0 Release Notes were originally made available.
----------------------------------------------------------------------------------------------------------------