Available July 25, 2024
Feature Enhancements
NEW
Web
Intellek Create now supports UK and US data hosting. As a Create User, a company can request that their data be stored in either the UK or US and Intellek will ensure their data is stored on a sever in the country of their choosing. Contact [email protected] to discuss your options. |
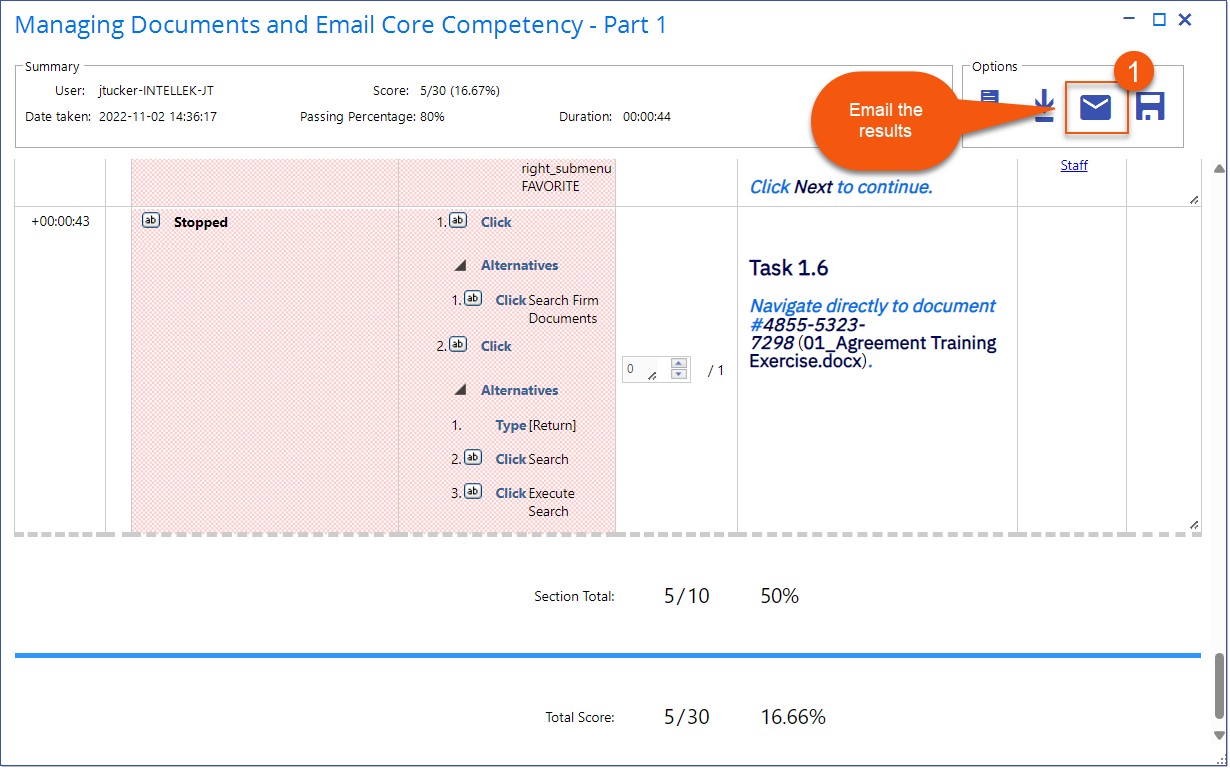
Create Administrators, Results Users, and Create App Users now have the option to email course/assessment results directly from the Results file to a desired email recipient. 1.Open the Results file and click the Email the results button in the top right corner of the Results file.
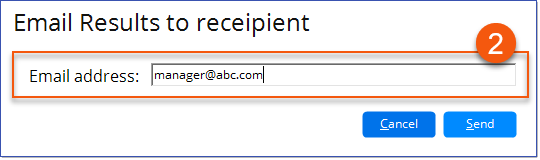
2.Enter the recipient's email address in the Email Results to recipient dialog.
3.Click Send to send the open Results file to the destination email address. 4.The recipient will receive the following automated email message:
|
Cloning a content file will now update the Author with the current User's name. The Author is displayed in the Library list view as 'Created by UserName'.
|

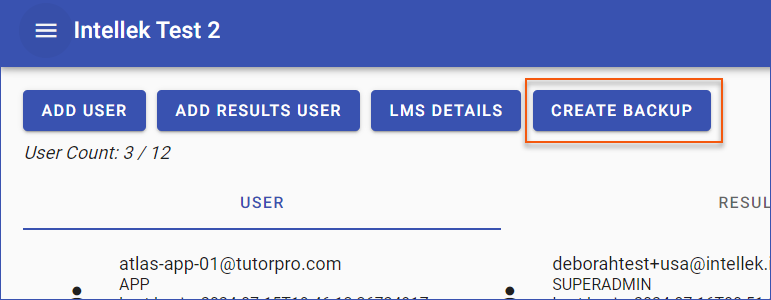
Create now includes a Create Backup button on the Admin Settings page. Administrators can create a backup file of all Create content in the Library. While not mandatory, it can be particularly helpful to keep a copy of an older version of a course when updating content, providing peace of mind. Backed up content can only be used in Intellek Create. To restore content from your backup file, contact [email protected]. 1.Go to the Admin Settings page.
2.Click Create Backup to generate a zipped .json file of all the Library conent and save it to your filing system. To restore content from your backup file, contact [email protected].
|

NEW
App
Create Users will have an Email Results button available when viewing their Results file. Create Users can use this to send their assessment results directly to their manager or to their Inbox for future sharing.
1.Open the Results file and click the Email the results button in the top right corner of the Results file. 2.Enter the recipient's email address in the Email Results to recipient dialog. 3.Click Send to send the open Results file to the destination email address. |

----------------------------------------------------------------------------------------------------------------
Any Issues listed below this line were added after July 16, 2024 when Create v1.17.1.0 Release Notes were originally made available.
----------------------------------------------------------------------------------------------------------------