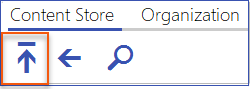
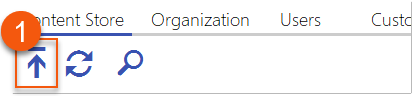
You can import content from several different sources to build the Deliver Content Store. You can import content at any time, and as often as needed. 1.From the right panel, click the Import 2.Choose the type of content you want to import, then refer to the sections below for detailed instructions. |
After selecting Browse to Network: 1.Click the ellipsis button to the right of the Browse to folder. 2.Navigate to the folder location where the required documents are saved. 3.Click OK. 4.In the Type of Content field, type the document extension(s) of the documents you want to import.
5.Click Import. 6.Click OK to dismiss the “Finished” message.
|
Using the Intellek Deliver Import.csv file as a template, you can list multiple learning resources and import them at one time.
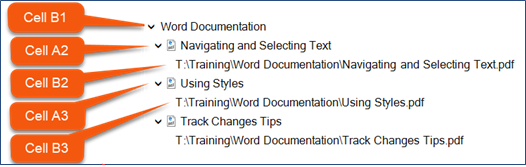
Tips for using the Intellek Deliver Import.csv file as a template: •When editing in Excel: 1.Enter the information in columns A and B. Cell A1 should contain the word “Heading” and cell B1 should contain the sub-folder name you want displayed in the Content Store. 2.Starting with row 2, enter the document name you want to see in the Content Store (e.g., Track Changes QRC) in column A, with the Url path name in column B. Each document listed should be on a separate row. For example:
When imported, the Content Store will display: 3.When saving the file as a: o.CSV, select the “CSV (MS-DOS) (*.csv)” format option. o.TXT, select the “Text (MS-DOX) (*.txt)” format option. •When saving the file as a .TXT: 1.Open the file in Notepad. 2.Separate the file name (column A in Excel) from the path with a comma and replace the inserted tab with a space. For example: If there are additional commas or other characters in the path name, surround the path in double quotes (as shown in the last line of the graphic). •Close the file prior to importing in Intellek Deliver Manager. •You may want to create multiple files (.csv or .txt) in order to add structure to the Content Store. After selecting Bulk Import Urls: 1.Click the ellipsis button. 2.Navigate to the location where the .csv/.txt file is located. 3.OPTIONAL: If saved as a .txt file, change the file type to .txt to the right of the File Name field. 4.Click the Select the .csv/.txt file. 5.Click Open. 6.Click Import. 7.Click OK to dismiss the “Finished” message. 8.Click Close. |

Performing this step will import the Library into Intellek Deliver’s Content Store. This option must be repeated whenever there are updates to the Library. After selecting Intellek LMS: 1.Enter the full URL path to the LMS (e.g., https://[Firm LMS Name].intelleklms.com). 2.Enter your LMS User Name.
3.Enter your LMS Password. 4.Click Connect. 5.Once the “Successfully connected” message displays, click Import. 6.Click Close. |
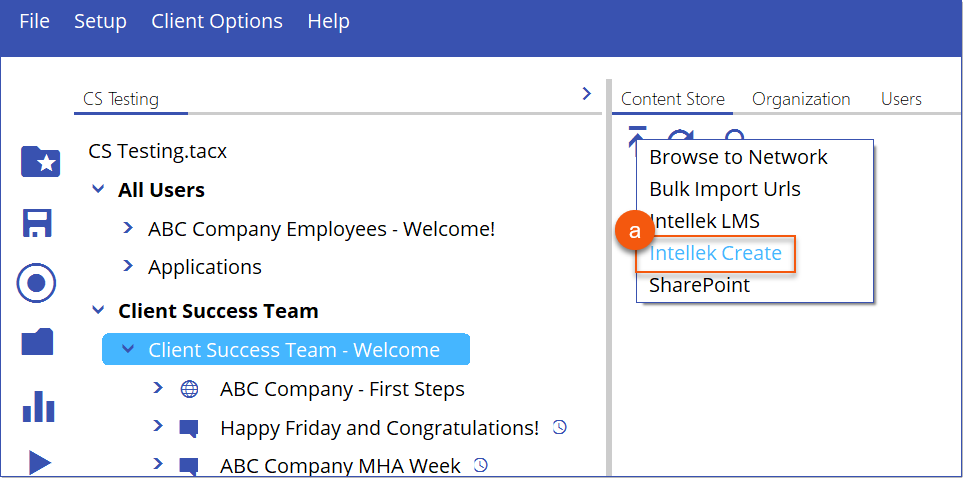
Users of Create can now import their Intellek Create Content files into the Deliver Manager Content Store. This procedure facilitates a connection to your company's Create account, enabling you to browse categories and sub-categories and select courses for import. It is important to note that this option needs to be repeated whenever new courses are added to Create. 1.Click the Import button.
a.Select Intellek Create from the Import options
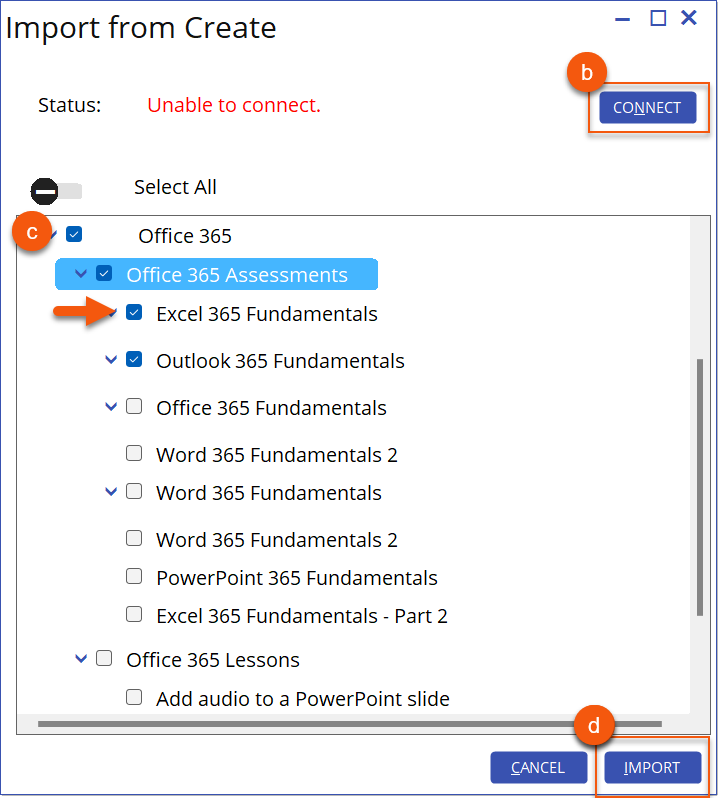
b.Click Connect to connect to your company's Create instance. c.Explore the available categories and sub-categories, and check the box next to each content item you intend to import into the content store. d.Click Import to complete the import.
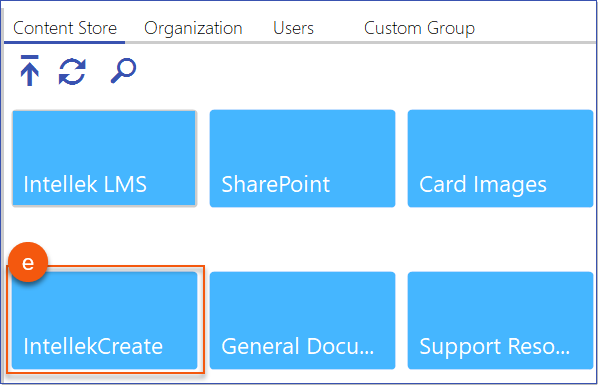
e.All categories, sub-categories and courses are added under the Intellek Create tile in the Content Store.
|
Performing this step will allow you to browse your company’s SharePoint site for resources and import them into Intellek Deliver’s Content Store. This option must be repeated whenever there are new resources added to SharePoint. After selecting SharePoint: 1.Enter the full URL path to your SharePoint site. 2.Enter your SharePoint User Name. 3.Enter your SharePoint Password. 4.OPTIONAL: Specify a Folder if you don’t want to search all folders. 5.Click Connect. 6.Select the check box(es) of the folders you want to include. 7.Click Import. |
Administrators can use the SharePoint Sites import option to select which Groups or Sites Deliver Clients can search on. Users of Deliver Client can search for and find content within SharePoint based on the Groups or Sites imported into Deliver Manager they have access to. 1.From the Content Store panel, click the Import button.
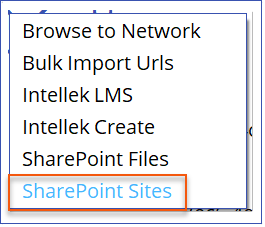
2.Select SharePoint Sites from the menu options.
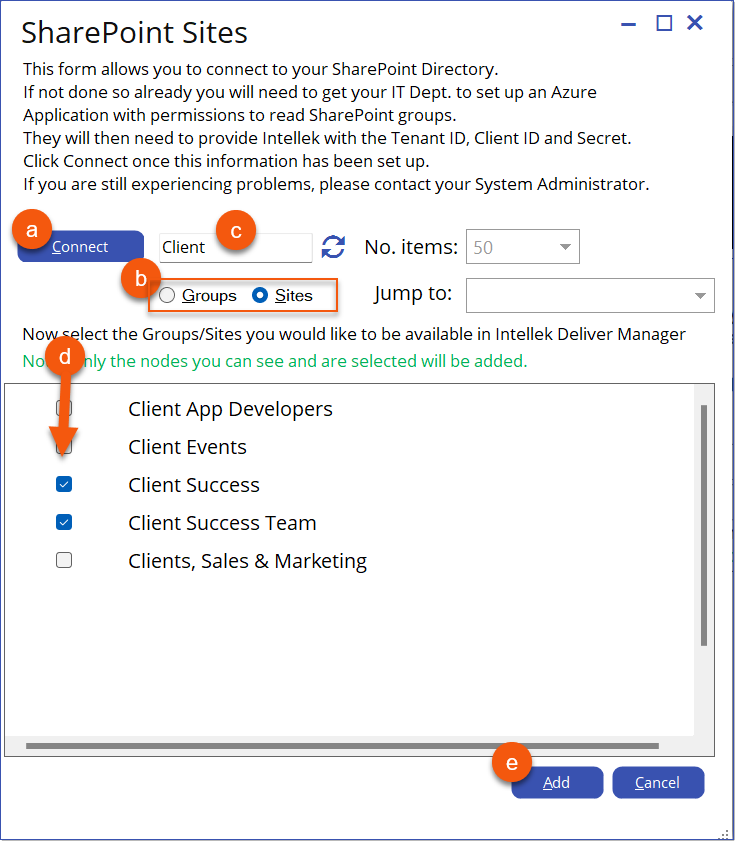
3.Select the SharePoint Groups or Sites using the following as a guide:
a.Click Connect to establish the Connection to SharePoint. b.Select Groups or Sites to display the SharePoint Groups or Sites available for your Company. c.Filter the Groups or Sites by name by entering text in the filter search box and pressing Enter, i.e. enter "Client" and press Enter to retrieve all SharePoint Groups/Sites that begin with the word "Client". •Optionally, reduce or increase the number of items displayed in list using the No. Items field, 100 is the default. •Use the Jump to dropdown box to jump further down the list as needed. d.Select the Groups/Sites items from the list you would like to make available in the Deliver Manager Content Store.
e.Click Add to complete the selection. The Items display in the SharePoint Site tile in the Content Store.
See Azure Application Credentials and Permissions
|