The audio feature in Live Content Studio can enhance user interaction. The audio feature in Live Content Studio is known as Playback Audio. It allows you to play back an audio track over Text, Multimedia, and Form Instructions.
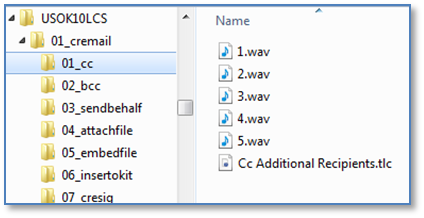
Whichever tool you use to record your audio, you will require a location to which you will save the audio files. A Live Content file is a single file with a .tlc extension. Any media associated with the Live Content, such as an audio file or video file, is referenced in the Live Content file. This means that it is external to the .tlc file and is connected by a path.
|
The Playback Audio feature allows you to assign an audio file to an Instruction. The audio plays when the Instruction is displayed. The content file and the audio files must be housed in the same location or the location in which the audio files are housed must be accessible from a central location, such as a dedicated media server. If you have questions regarding the storage of your audio files, please contact: [email protected]. |
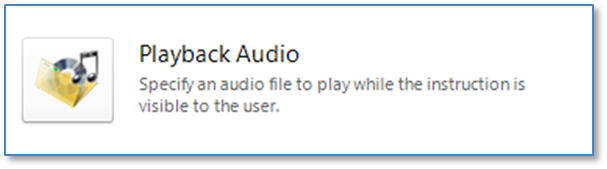
Open a piece of Live Content in the Live Content Studio Manager. 1.Double-click an Instruction to display the Add/Edit Instruction window.
3.Click the Audio tab. 4.Click Playback Audio. 5.Click the Ellipsis button to navigate to the location of the audio file for the selected Instruction. 6.Double-click the audio file to select and open it.
7.Select the check box for the additional option(s), if appropriate.
8.Click Accept. You must select each Instruction that requires an audio file following the steps listed above. There are two ways by which you can tell whether or not an Instruction has an audio file associated with it: •Instruction List (in either the Main Interface or Add/Edit Instruction window) – Look for the headphones
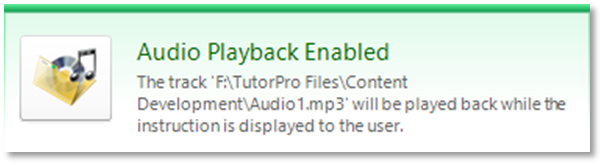
•Audio tab – Select the Instruction in the Add/Edit Instruction window and display the Audio tab:
The information displayed is also useful in troubleshooting issues. The exact path to the file is defined here. If no file is defined for that Instruction, no relevant information is displayed as in this example:
When you click the Playback Audio button, the last selected audio file and options are displayed, even if a new audio file has been applied to the current Instruction. Follow the same steps that are listed above to select the appropriate audio file and options, and then click Accept. |


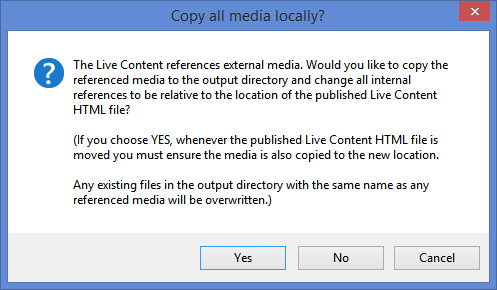
When publishing content that contains audio files, you have the option to include the associated media files in the package.
•Clicking Yes will create a relative path to the files in the package. The original storage location for the media will not impact the end-user’s ability to play the media files. •If you click No, anyone taking the content MUST have access to the physical location where the files are stored. |