From the Settings page:
1.Click the 3-dot Options menu.
2.Select Branding.
3.The Logo setting allows you to upload a Logo which will display on Event Attendance Rosters and the LMS Login page. If you’re using SSO, users will bypass the login page shown below. If you choose to upload a logo, the tooltip should be defined so your end-users see your firm name. For example, when they hover over the logo, shown below.
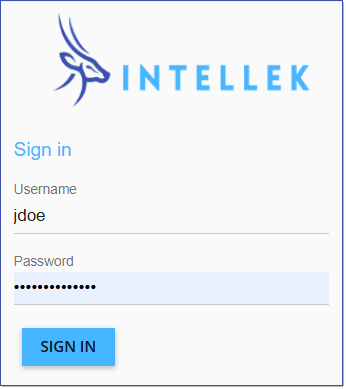
![]() Graphics must be in .jpg or .png format. The recommended height of the logo should be 100px.
Graphics must be in .jpg or .png format. The recommended height of the logo should be 100px.
4.The Primary and Accent Colors you specify are implemented throughout the site.
•The Primary color is the color of the Navigation bar.
•The Accent color is the color of the Sign In button, as shown in the graphic below.
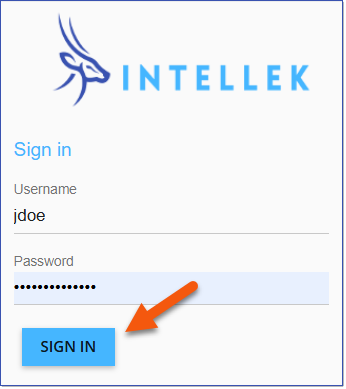
Populate your HTML/Hex color codes here. For example, #003366. If you decide you want to revert back to the default colors of the LMS, simply delete your specified HTML/Hex code and leave the fields blank.