Live Content provides two options for tracking results. If you package the content and upload it to an LMS, the LMS will report a status and a score if you have created an assessment. In addition, you have the option to set up a Live Content Studio Results File which provides a separate Results File, with click-by-click reporting. You can use both if you wish.
Before packaging, if you decide you want the additional click-by-click Results File, see the Create a Results File topic.
Important! Before publishing, please make sure that you have defined the Results File location if you would like to have the click-by-click Results File. |
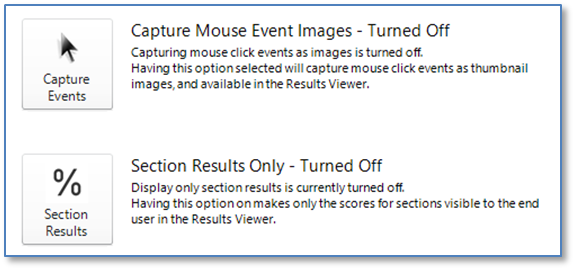
Before creating a Results File, the Results tab of the Main Interface has two options that can be activated which impact the way results can be viewed by both end-user and manager. Both options are turned OFF by default.
![]() If you work on more than one content file without closing Live Content Studio, these settings are “sticky” until you exit the program. The next time Live Content Studio is launched, these options are reset to the default OFF state.
If you work on more than one content file without closing Live Content Studio, these settings are “sticky” until you exit the program. The next time Live Content Studio is launched, these options are reset to the default OFF state.
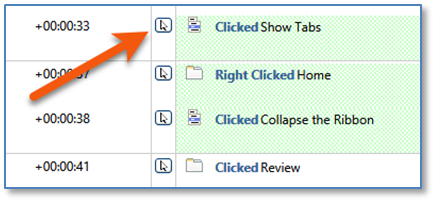
•Capture Mouse Event Images – captures and creates a thumbnail screen shot of where and what the end-user clicks for each step performed. In Results Files, click the ![]() button to display the thumbnail.
button to display the thumbnail.
•Section Results Only – controls the level of information the end-user can view in their results. Provided that Section markers have been applied to Section heading Instructions, the user will only see their pass/fail percentage for each section of the assessment.
Important! This setting must remain OFF for the learner to be able to see their click-by-click Results. |
|